Setting up the Wallet:
To get started, you'll need to create a wallet. Each wallet operates on a specific protocol, and if you are the Owner or Admin, you can assign different teams to manage each wallet.
- The Owner and Admin will have access to create the wallet.
Creation of wallets
There are two ways to create a wallet:
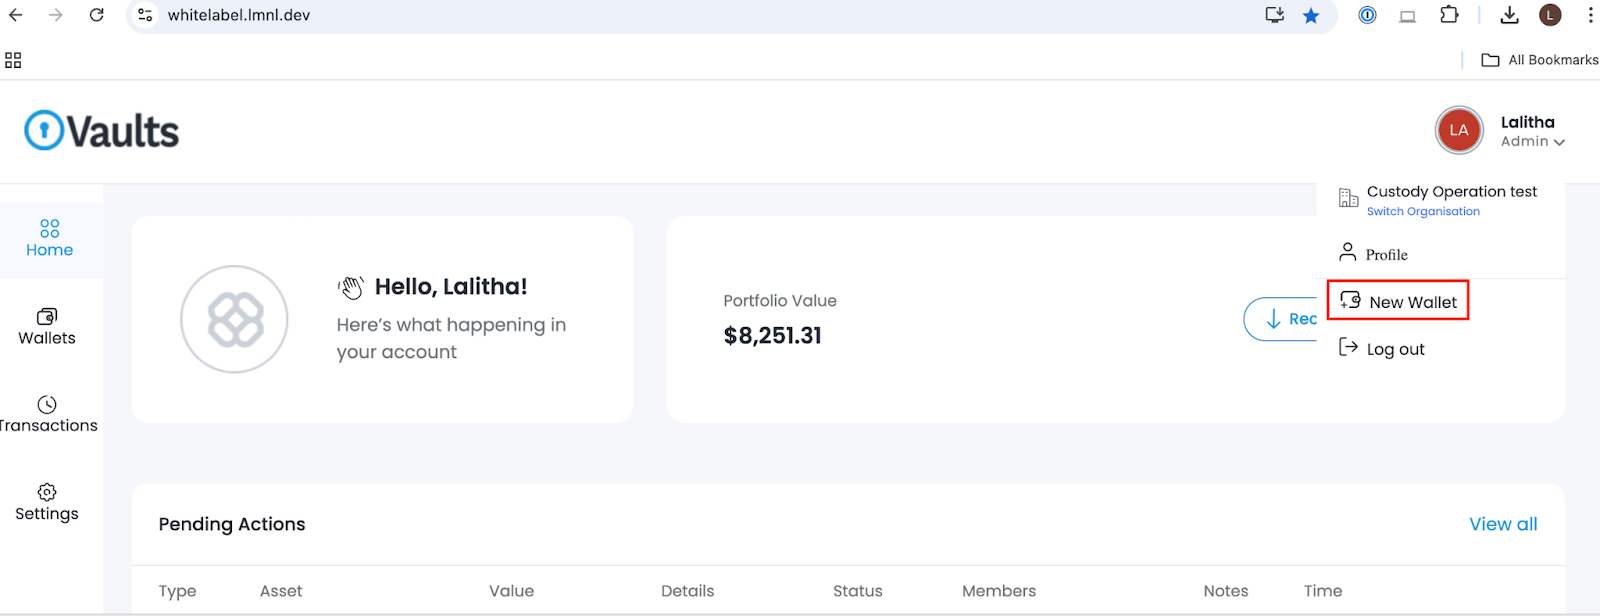
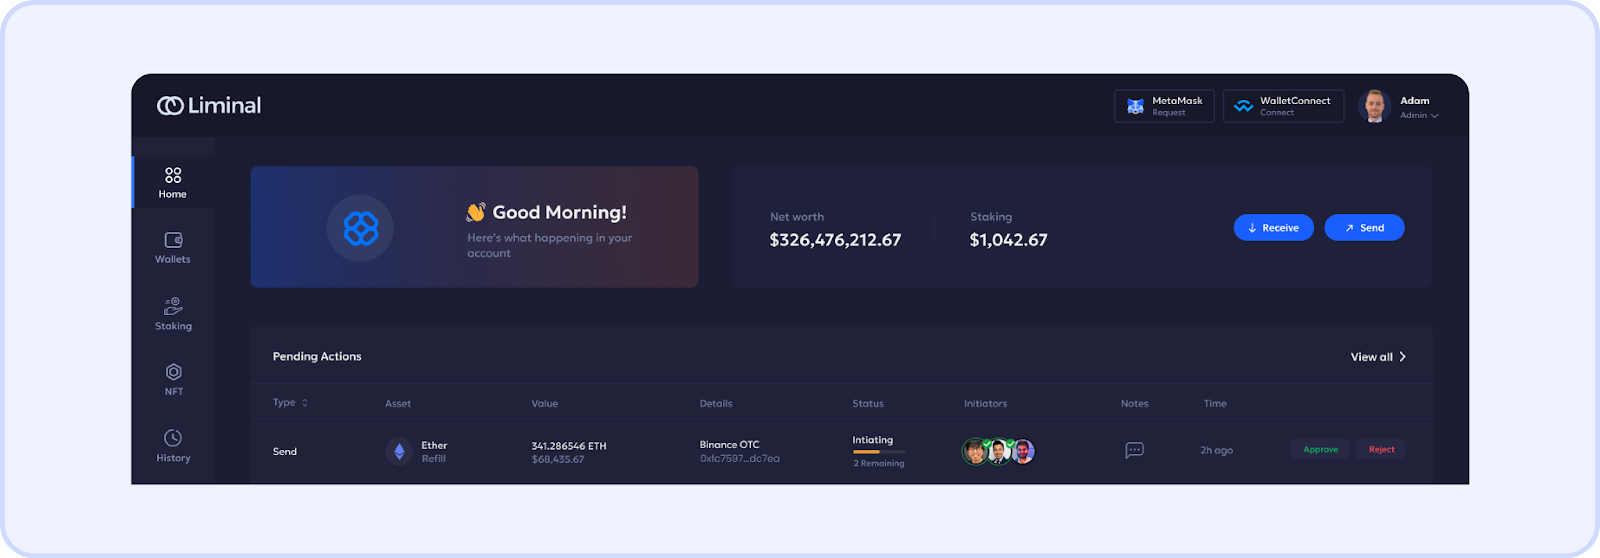
- Using the "Create Wallet" button: Look for the "Create Wallet" option in the top-right corner of your screen, as illustrated below.
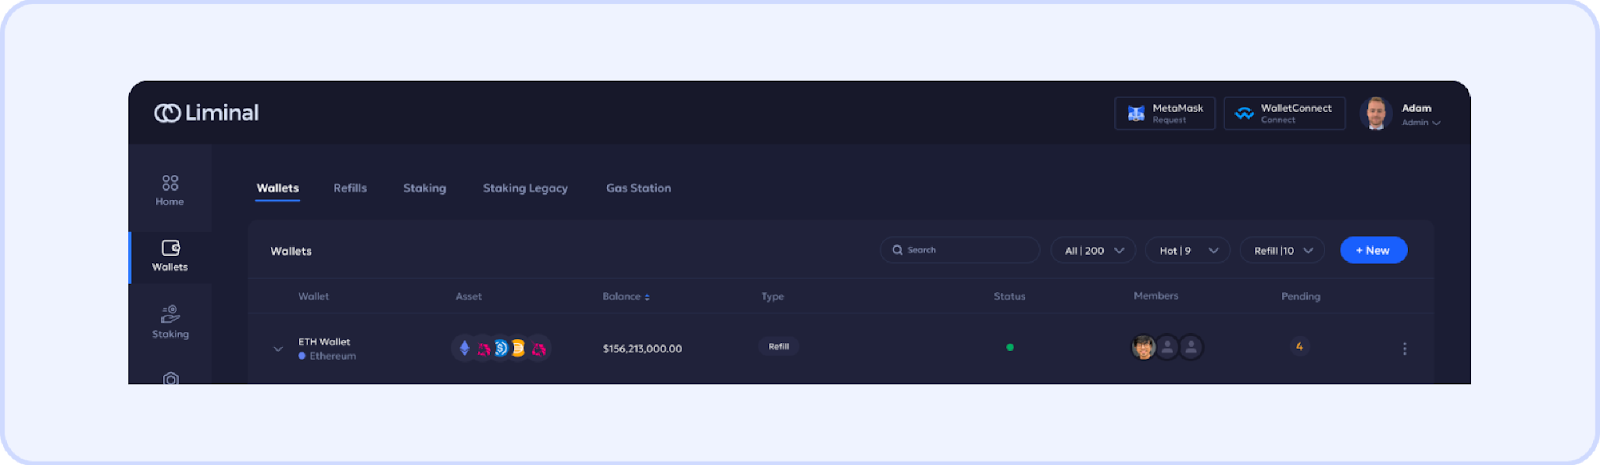
- Using the "Wallet" tab: Alternatively, navigate to the "Wallet" tab on the left-hand side of the interface. Clicking this tab will open a new window, where you will find the "Create Wallet" option on the left side.
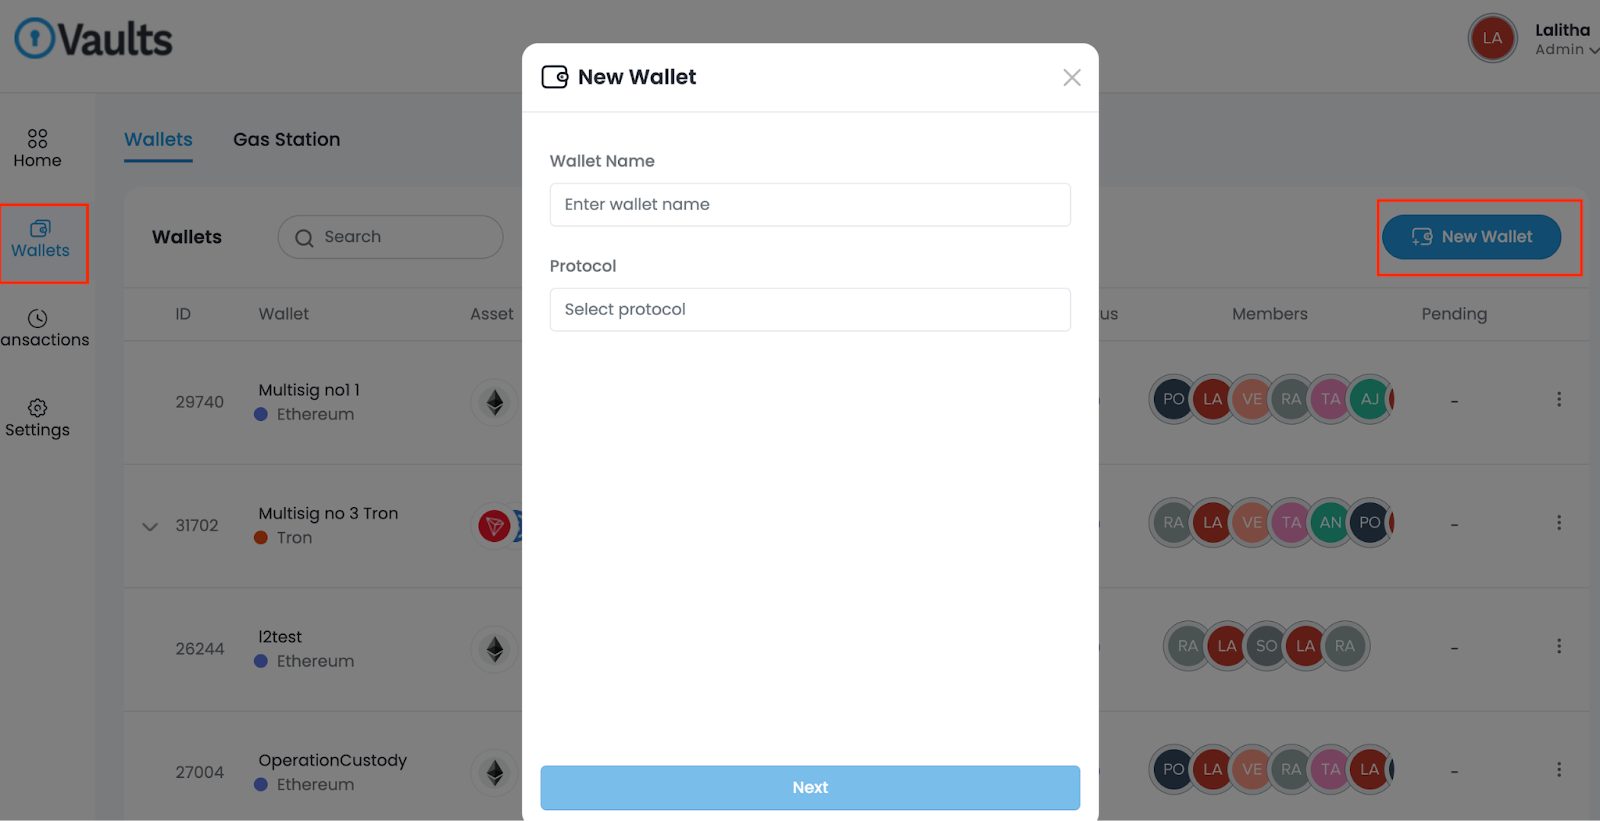
Fill in Wallet Details
To create your wallet, follow these steps:
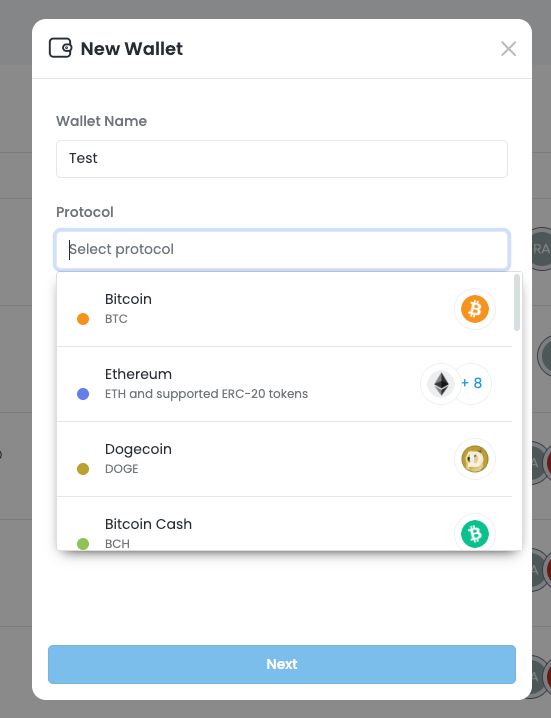
- Provide a Name and Select Protocol: Enter a name for your wallet and choose the desired protocol.
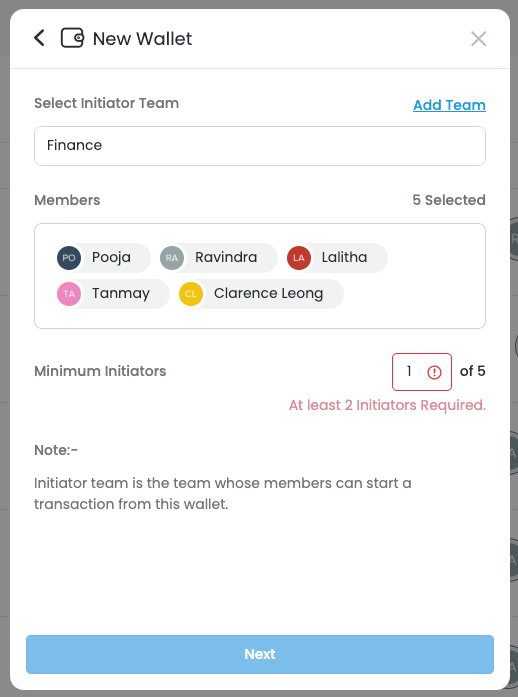
- Select Initiator Team: Click "Next" and then select the initiator team for this wallet.
- Set Minimum Initiators: Enter the required number for "Minimum Initiators" and click "Next."
- Confirm Wallet Creation: A confirmation window will appear. Click "Confirm" to proceed.
- Enter 2FA Code: You will be prompted to enter your 2FA (Two-Factor Authentication) code.
- Wallet Creation Status: After successfully entering the 2FA code, your wallet creation request will appear under 'Pending Actions'.
Access Created Wallets
- The Liminal Custody Team will refer to the submitted Board Resolution for the list of authorised personnel before approving the wallet creation.
- Once approved, you will be able to view the created wallet.
- All successfully created wallets will be listed under the "Wallet" menu and will be visible to all members of the wallet.
Was this article helpful?
That’s Great!
Thank you for your feedback
Sorry! We couldn't be helpful
Thank you for your feedback
Feedback sent
We appreciate your effort and will try to fix the article